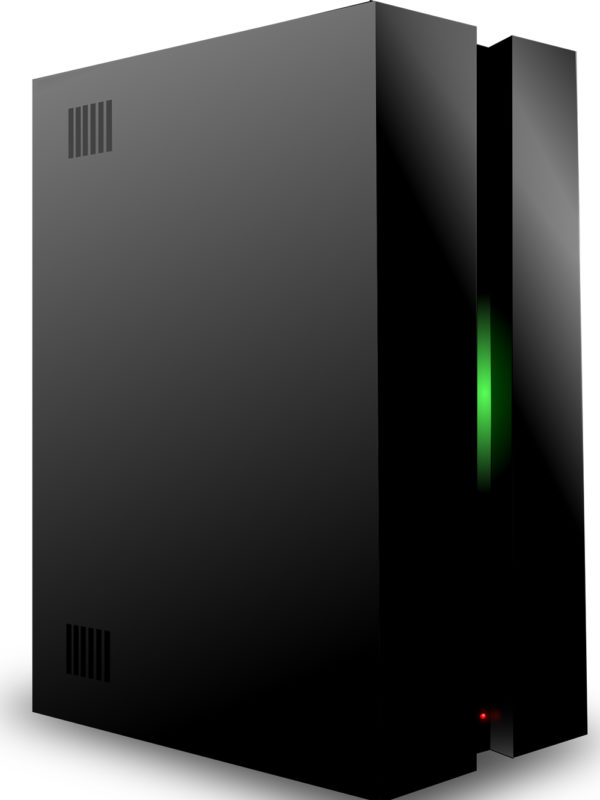
How We Build VPN Firewall Routers
An Introduction To Routers
There is really nothing magical or mysterious about a router. A router is a computer that takes information coming in from one network interface, and “routes” that information where it needs to go. The concept is simple, but to implement it requires an understanding of packet filtering, redirection, and services commonly associated with routers, such as DHCP service, caching DNS, VPN, and intrusion detection. Many routers you purchase at your local store are simply special builds of Unix (Linux and BSD being the most common) that have been fine-tuned by the manufacturer.
This is where a good router appliance software package helps. The teams that create these packages have taken the guesswork out of the process and built systems that protect your network, while allowing you control through a simple web interface.
The hardware is not magical either. Any general purpose computer built in the last 10 years has more than enough power to be a router. We have clients who have used P-III Dell desktops running at 600 Mhz with 256M of RAM for years as their routers with no problems. Obviously, for something as important as your Internet connection, you don’t want it to fail, but that old laptop that is just too slow to play newer games might work fine. Just plug in an extra Network card, install IPFire (or install Debian Linux and do it the more difficult way by learning all about IPTables) and you have a router.
While we sell routers that we manufacture from new, off -the-shelf hardware that we have tested, we have also built routers in the past using a client’s equipment they no longer feel is fast enough or new enough for their workstation.
What You Need To Build Your Router
Hardware
- Soekris net5501-70 This is specifically designed for use as firewall/routers
- Kind of pricy, but it has long term stability and a fantastic operating range (0-60C) with no moving parts
- 8 Gig Compact Flash (Soekris sells them on their web site, or you can purchase from the store)
- 2 Gig will get you a basic router.
- For greater longevity and monitoring (SMART), get one of the SDD’s at a reasonable price. NOTE: you will need thehard drive kit Quick lesson; the SLC hard drives are the ones that give you the longest life span, though from what I’ve read, the MLC’s are pretty good also.
- For installation (these items are only needed for installation)
- CF Card reader/writer (or SSD read/write if that is what you’re using)
- Computer set up with a terminal server program
Software
- IPFire Router Appliance Software (SCON or Alix image) (http://www.ipfire.org/download)
Preparation
- Gather the necessary information for your Internet connection from your provider. This will include the protocol (DCHP, Static IP, or PPP Dialup).
- Find a source for your DNS. If you are using DHCP or PPP, this will be automatically defined (though IPFire allows you to override it). We primarily use OpenDNS(208.67.222.222 and 208.67.220.220) but Google also provides public DNS’s (8.8.8.8 and 8.8.4.4). Additionally, your provider may provide a DNS for you and these addresses will be included in your documentation or on the provider’s web site. See discussion below if you are unsure of what to do in this situation.
- Determine what range you want for your internal IP addresses. Most SOHO commercial routers use 192.168.1.0/24 or 192.168.2.0/24, and for that reason, these are not optimal addresses to use. You may choose any Private network address. If you are planning to use VPN, it is better to select a range that is not commonly used. Wikipedia has a good article at http://en.wikipedia.org/wiki/Private_network, but an easy way to remember it is that anything beginning with a 10, a 16-31, or a 192.168 is good. Thus, 10.20.51.0/24 (begins with a 10), 172.16.216.0/24 (begins with 172.16) or 192.168.128.0/24 (begins with 192.168) are good, but 172.32.216.0/24 is not ideal (does not begin with 172.16).
- Decide if you want your router to provide DHCP services to your network. This means that your router will assign addresses to everything plugged into it; the router will be responsible for each computer, cell phone, and tablet getting a correct address. If this is not something you understand or want to worry with, we dosuggest that you include a dhcp.
- Choose a name for your router. This should be a name similar to a web site: router.myrouter.local is acceptable. You will be asked to give your router a name on installation, and changing that name is difficult.
Steps to Building the Appliance
Following instructions are for a Linux system. If you are using Windows, see the instructions at IPFire’s installation page (look for instructions for Alix board). Instructions in italics are actual commands you type from the shell prompt.
- Install Alix image on your hard drive/CF. NOTE: don’t worry if your hard drive is larger than the image (2 Gig) as part of the IPFire setup involves expanding the file system to fill the hard drive. Following instructions are for a Linux system.
- Become the root user
- tail -f /var/log/messages # may need syslog depending on your distribution
- Plug a USB to CF card reader into your computer, or the SSD reader
- Watch log output to see what the device name is
- Unmount the partition if it is auto-mounted
- NOTE: The following step gives NO visual feedback until done. Then, it will simply return the cursor to your console. It can take 15-20 minutes if you have a slower machine. Go get some coffee or something
- zcat ipfire-2.11.2gb-ext2-scon.i586-full-coreXX.img.gz > /dev/sdx # where sdx is the drive
- sync # to ensure the data is written to the device
- Remove the CF or SSD
- Install a Compact Flash / SSD into router. DO NOT POWER ON YET
- Connect crossover cable between your computer and the router. I use a USB to Serial Port converter available at almost any computer store. Again, watch your log messages to see where the USB Serial port comes up.
- run minicom as ‘minicom -o -D /dev/ttyUSB0’ (changing ttyUSB0 to whatever the serial port is). The -o means “don’t send initialization string to modem’”
- Power up your router. You should see a bunch of weird characters as it is booting, but then text will flow across the screen. In reality, you can go do something else for about 5 minutes as the first part is automated. Router will reboot when the automated setup is done, then start asking you questions.
- NOTE: from here on, it is necessary you are familiar with the IPFire command line interface. Using a serial console has severe limitations in the display of the configuration menus you will be going through. You will, in many cases, only be able to tell where your cursor is because you “know” where it is at that point in the install. Tab/Enter/whatever all work just fine, you just don’t get feedback from the screen on where you are.
- Enter all configuration as normal.
- When you get to the network config, set it up as you want. Normally, I set up Red+Green+Blue+Orange (hey, four ports, four port configuration).
- The MAC addresses are in order the ports are labeled on the back, with smallest MAC being eth0, next being Eth1, etc… I generally set red for eth0 (smallest MAC address), green for eth1, blue for eth2 and orange for eth3
- Now, set the Red interface to however you connect to the ‘net (it does not need to be plugged in). Set the green IP address, and turn on DHCP.
- Finish setting up the router. When you are done, you will be given a login prompt.
- Plug a crossover cable from your computer to the router, green port. Your computer should get an address from the router
- Open a web browser to https://router_internal_ip:444, then log in as admin and whatever password you gave it during setup.
- You can now configure the router as for your site.
You now have a working VPN router that is comparable to the proprietary ones offered for$600-$700, and will give even more expensive routers a run for their money.
Options
If you want to use the router for advanced solutions, like Proxy (especially update proxying), or some of the add-ons available to IPFire such as a file server, you will be writing to the drive more often or need more space. In this case, an SSD is a better choice for you.
The AOpen DE2700 is a nice, solid state drive with room for a 2″ hard drive. It only has two ports, however, and they are hard to find.
A Foxconn barebones computer (go to NewEgg and search for foxconn barebones) has a full sized 3.5″ bay (plus a 5.25″ bay for a CD-ROM, but a hard drive fits with an adapter), which means that you can get that 2 Terabyte drive for $99. There are many, many add-ons for your router, including turning it into a file server also (I do not advise this). We use these machines for our backup concentrators.
Other Router Appliance Distributions
IPFire is not the only router appliance software available, but it is the one we prefer. For more information about your appliance software options, we suggest the Wikipedia article on the subject at http://en.wikipedia.org/wiki/List_of_router_or_firewall_distributions.
Additional Information
Private or non-routeable IP addresses
With the older IP4, several ranges of IP addresses were set aside to be for private use. The idea was that your “internet address” could be reached by anyone (including bad guys or black hat hacker), but some IP addresses would be set aside for use in local networks only. In order for someone to reach your computer on a private IP address, a router needed have rules specifically allowing it (commonly called Port Forwarding); the default was to not allow any traffic from outside to come in, protecting the network.
These private, or non -routable addresses, are listed many places, but a clear article is at http://en.wikipedia.org/wiki/Private_network. We suggest that you choose a group of addresses from this group which gives you enough addresses for all the machines in your LAN. Because of the way networking works, choosing a group of 256 addresses is very common (even if you only use two or three of them).
IPv4 addresses consist of four numbers separated by a period. Each number (called an octet) can have a value from 0 through 255 (though 0 is reserved in most cases). Define your network “address space” by choosing the first three numbers to identify your network, then the last number changes for each machine. So, for example, if we chose 10, 150 and 45 to be the first three octets, all our network devices would have an address of 10.150.45.x, where “x” would be a number between 1 and 255. Since any address that starts with a 10 is a private address, we can use it in our network with no problems.
We need one address for the internal (LAN, or Green) port of our router. We prefer to use a “1” for that, since it is the “first” point in the network, but others use 254 for it. All other equipment must have a different number at the end. Assuming you have two computers, a network printer, and a tablet in your house, you might set it up as follows:
- 150.45.1 – router
- 150.45.128 – computer A
- 150.45.129 – computer B
- 150.45.245 – network printer
- 150.45.250 – tablet
There is nothing special about the last octet (except for the router). You may chose them at random. Generally, we let the internal DHCP server choose what IP addresses a device gets.
* Note: There is another copy of parts of this article at http://wiki.linuxservertech.com/index.php?action=show&cat=5. That is a working copy and I hope we keep the two synchronized.
Our Top-Rated Services
You’re busy running your business. We understand! That’s why we have a wide range of helpful services to take the load off your shoulders.
Customer Service Outsourcing Options
One-on-One Executive Mentoring
Accounting and Finance Services
In-Office Consulting
Marketing and Advertising Outsourcing
Business Plan Preparation